last change:
6.4.2002
since 16.9.2000

Why the heck is there a tank ?!?
Main Page
"HowTo" Guides
Troubleshooting Guides
BIOS related information
CPU related information
Overclocking
Articles
Downloads
Forum
Contact
Links
|
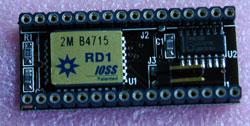
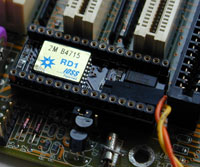
RD1 BIOS Savior
|
||||||||||||
|
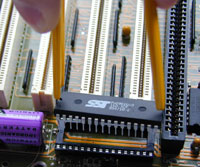
This is what you get:
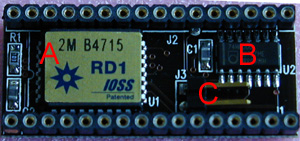
How is the RD1 constructed?
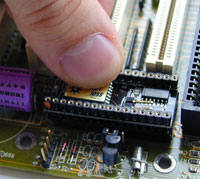
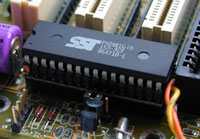
A Flash Chip So how does it work? Installation is straightforward:
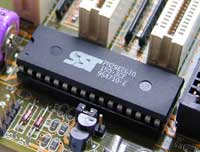
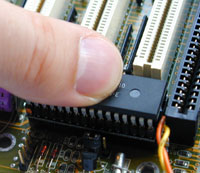
With the RD1 installed, you can now choose the active BIOS chip by using the switch. After installing the RD1 you might want to back up your BIOS first. In order to do so, use your flash utility to save the mainboard BIOS to a file, then switch to the RD1 and flash this image into it. If your mainboard BIOS chip does no longer work, switch to the RD1 and boot from it. Switch back to your mainboard BIOS and repair it by re-flashing. Also, if some or other mainboard has BIOS troubles, simply take it's BIOS and place it onto the RD1. Boot from RD1, then switch to the faulty chip and flash it. Think of how your friends are grateful if you help them to recover from a bad flash ... Page1: The Problem |